Intro: Your Flutter app works, until it doesn’t
Short answer
Flutter test automation scales quality across platforms by catching bugs early, improving reliability, and enabling faster releases through unit, widget, and integration tests.You’ve built a beautiful Flutter app. It runs smoothly on your machine. But the moment it hits production? A button doesn’t respond on iOS. The layout breaks on a Pixel. A regression sneaks into the login flow. It’s definitely the time for Flutter test automation.
That’s not a launch, it’s a live-fire bug hunt.
Modern Flutter apps move fast, span multiple platforms, and pack in more features than ever. Manual testing alone can’t keep up. And skipping tests? That’s a gamble on your app store ratings, user trust, and release timelines.
This guide is your roadmap to Flutter test automation that actually works, covering everything from unit tests to full-on integration flows, with tools, CI/CD strategies, and real-world lessons baked in. If you’re ready to scale quality without slowing down, let’s get into it.
Why test automation is important for Flutter
Short answer
Good tests are fast, reliable, and focused — use mock services for logic, simulate UI actions for widgets, and mirror real user flows in integration tests.Flutter’s superpower is a cross-platform reach. It creates testing complexity by default. UI components behave differently across devices, subtle regressions slip through unnoticed, and what works in one environment might misfire in another.
If you’re not automating tests, you’re likely facing:
- Performance issues that pass manual checks but crash on edge devices.
- Code changes that revive old bugs silently, regressions hiding in plain sight.
- Shaky releases that hurt ratings, frustrate users, or get blocked by review teams.
On the flip side, automated testing offers a safety net:
- Immediate feedback after each change, so bugs don’t snowball.
- Cross-platform reach with less manual setup.
- Stronger consistency, same bugs don’t keep coming back.
- Smarter QA allocation, humans explore, scripts repeat.
Who should read this
Short answer
This guide is ideal for teams growing beyond manual testing, helping testers, developers, and product leads implement scalable, automated QA in Flutter.If your team is growing and you can’t test every new feature by hand anymore, this guide is for you.
- Testers who want to speed up debugging and increase coverage without the repetition.
- Developers looking to catch issues earlier and test alongside their code.
- Product teams balancing quality, speed, and release frequency, without burning out QA.
Types of Flutter tests and when to use each
Short answer
Use unit tests for logic, widget tests for UI parts, and integration tests for end-to-end flows — each serving a distinct role in verifying app functionality.
Here’s a breakdown of Flutter testing and how to pick the right type.
Unit tests
What they check. Small pieces of code, such as functions or API parsing.
When to use them
- To test business logic (like login or calculations).
- To check model validation and how your app handles input.
- To test API response parsing.
Good points
- They run fast.
- They’re simple to write and keep updated.
- They’re great for test-driven development.
Example. Testing a tool that formats prices or checks form input.
Widget tests
What they check. Individual parts of the user interface, using simulated user actions.
When to use them
- To test widgets that change how they look based on conditions.
- To verify tapping, scrolling, and input actions.
- To check the look and structure of the output.
Good points
- They’re quicker than testing the whole app.
- They check UI logic before the full combination.
- They work without needing a real device or emulator.
Example. Testing a custom login button or a list widget with filters.
Integration tests
What they check. Complete app processes that include several widgets, screens, and services.
When to use them
- To test complete user paths (like login to checkout).
- To test on actual devices or emulators.
- To check how the app acts under real conditions (network, delays).
Good points
- They give the most confidence that your app is ready to go live.
- They copy what real users do.
- They’re key for checking for problems and testing releases.
Example.Simulating the complete sign-up process and a first purchase.
Manual vs. Automated testing
Short answer
Manual testing is great for catching visual or UX edge cases, while automation ensures speed, consistency, and coverage across platforms and changes.| Manual testing | Automated testing |
| Best for finding edge cases in UX | Best for regular, repeatable testing |
| Can have errors, slower to get feedback | Reliable, fast, works with CI/CD |
| Needs device access and someone to do the testing | Can run on emulators, cloud, or real devices |
Use manual testing to catch things that automated tests don’t. Then, automate the things you don’t want to test by hand ever again.
Setting up your Flutter testing environment
Short answer
Set up Flutter testing with the right tools, clear folder structure, and smart test segregation — ensuring efficient test execution and easy CI/CD integration.Setting up a Flutter testing environment doesn’t have to be complicated. Getting it right from the start can help make sure testing is more streamlined and easier to handle, which is something your whole team will appreciate.
First, let’s get the basics sorted
- Make sure you’ve got the Flutter SDK and Dart set up.
- Have an IDE like VS Code or Android Studio ready with the Flutter plugins.
- You’ll need a device or emulator if you’re planning on doing integration testing.
Next, adjust your pubspec.yaml
Add these necessary packages:
dev_dependencies:

  flutter_test:

sdk: flutter

  test: ^1.24.0

  integration_test:

sdk: flutter
For mocking or more intricate testing needs, try these:
mockito: ^5.4.0Then run:
flutter pub getNow, think about how you want to organize your test files:
/test

  /unit

  /widget

  /integration
It’s a good idea to name your files clearly. Something like login_test.dart or cart_widget_test.dart works well.
As for the tools you can use
Flutter’s default setup works just fine for unit and widget tests. If you’re looking at doing something a bit more involved, consider:
- TestSigma / Maestro. For codeless or low-code test automation.
- Firebase Test Lab. For testing on many devices.
- BrowserStack. Cloud testing on actual, physical devices.
Lastly, watch out for slow tests messing up your CI/CD setup

- Keep your unit and widget tests quick
- Run integration tests on emulators or devices in your pipeline
- Use test tags or filters to separate fast tests from slower ones
Pro tip. Run your quick tests with each pull request to spot problems early. Then, do the full testing before you merge anything.
> **Quick Setup Checklist**
> - [ ] Install Flutter SDK & Dart
> - [ ] Configure IDE (VS Code / Android Studio)
> - [ ] Add test dependencies (`flutter_test`, `test`, `integration_test`)
> - [ ] Run `flutter pub get`
> - [ ] Create `/test/unit`, `/test/widget`, `/test/integration` folders
> - [ ] Integrate tests into CI/CD (GitHub Actions, Bitrise)
Good unit, widget, and integration tests
A good testing plan in Flutter starts with understanding how to write each kind of test correctly and when to use it. Here’s how to ensure your unit, widget, and integration tests are reliable and scalable.
Unit testing in Flutter
Goal. To check business logic and how data is handled separately.
Example. Testing how a string is formatted or how an API response is parsed:
// string_utils_test.dart

import 'package:test/test.dart';

import 'package:your_app/utils/string_utils.dart';

void main() {

  test('capitalizes first letter of a word', () {

final result = capitalize('flutter');

expect(result, 'Flutter');

  });

}
Good advice:
- Make sure tests are quick and don’t rely on the UI or outside sources.
- Use mockito to simulate services or APIs.
- Test often while developing to get quick feedback.
Widget testing: Pretending to interact with the UI
Goal. To test UI parts by simulating user actions, like tapping or entering text, and checking how they change.
Example. Testing a special login button widget:
// login_button_test.dart

import 'package:flutter_test/flutter_test.dart';

import 'package:your_app/widgets/login_button.dart';

void main() {

  testWidgets('calls onTap when tapped', (WidgetTester tester) async {

var tapped = false;

await tester.pumpWidget(LoginButton(onTap: () => tapped = true));

await tester.tap(find.byType(LoginButton));

expect(tapped, isTrue);

  });

}
Important Flutter test functions
- pump() — builds and shows the widget
- tap() — pretends a user is tapping
- pumpAndSettle() — waits for animations or changes to finish
Tips:
- Focus on parts of the UI that you use often, like buttons, cards, and input fields.
- You can use golden tests (if you want) to check if the UI looks right.
Integration testing: Checking how the whole app works
Goal. To test how users will do things in the app, going through multiple widgets, screens, or services.
Example. Simulating logging in, from entering info to getting authenticated and moving to the next screen:
/ login_flow_test.dart

import 'package:flutter_test/flutter_test.dart';

import 'package:integration_test/integration_test.dart';

import 'package:your_app/main.dart' as app;

void main() {

  IntegrationTestWidgetsFlutterBinding.ensureInitialized();

  testWidgets('complete login flow', (tester) async {

app.main();

await tester.pumpAndSettle();

await tester.enterText(find.byKey(Key('emailField')), 'user@example.com');

await tester.enterText(find.byKey(Key('passwordField')), 'password123');

await tester.tap(find.byKey(Key('loginButton')));

await tester.pumpAndSettle();

expect(find.text('Welcome back!'), findsOneWidget);

  });

}
Integration test tips
- Use actual or fake devices if possible.
- Be careful with delays, animations, and timeouts.
- Run all end-to-end tests together at night or before a release.
Advanced Flutter testing tips
Short answer
Advanced techniques like mocking, golden tests, and data-driven testing help Flutter tests scale smoothly while catching edge-case bugs early.Automated tests are only useful if they’re stable, scalable, and insightful. These strategies help your tests grow with your app, not against it.
Mocking and dependency injection
Simulate services, APIs, and data sources without relying on real systems.
Tool of choice: mockito
Use DI packages like provider or get_it to easily swap real and fake implementations.
Quick win: Faster tests. Fewer external flake-outs.
Example:
class MockApiService extends Mock implements ApiService {}

void main() {

  test('returns correct data', () {

final mockService = MockApiService();

when(mockService.fetchData()).thenReturn('Mocked Result');

expect(mockService.fetchData(), 'Mocked Result');

  });

}
Golden tests

Perfect for visual consistency. Golden files capture how widgets should look and flag any UI drift.
Use when: UI polish directly impacts user trust or conversion.
Example:
testWidgets('My widget matches golden file', (tester) async {

  await tester.pumpWidget(MyWidget());

  await expectLater(

find.byType(MyWidget),

matchesGoldenFile('goldens/my_widget.png'),

  );

});
Data-driven tests
Instead of one test per scenario, feed your test multiple input cases from CSVs or JSON.
Ideal for: Forms, filters, dynamic UIs.
Good rule of thumb: Test the edge cases users never mention, until they break something.
Example. Run a test many times with data from a JSON or CSV file:
testWidgets(‘My widget matches golden file’, (tester) async {
await tester.pumpWidget(MyWidget());
await expectLater(
find.byType(MyWidget),
matchesGoldenFile(‘goldens/my_widget.png’),
);
});
Scaling test performance
As your suite grows, slow or flaky tests become bottlenecks. Here’s how to stay fast:
Run tests in parallel
Split jobs by type, unit, widget, integration, and run them simultaneously in CI (GitHub Actions, Bitrise, etc.).
Pro move: Schedule heavier tests nightly or pre-release, not per commit.
Use cloud testing
Platforms like Firebase Test Lab and BrowserStack give access to hundreds of real devices. Great for catching edge-case crashes before users do.
Local = quick, Cloud = thorough. You need both.
Flowchart: Scaling Flutter testing

Incorporating Flutter tests into CI/CD for dependable delivery
Short answer
Integrating Flutter tests into CI/CD ensures early bug detection, reliable releases, and consistent feedback across development environments and devices.Creating tests is only a start. To actually benefit from automation, your tests must run early, often, and reliably — in your CI/CD pipeline.
Why CI/CD is important for mobile testing
Without CI/CD, tests are run without consistency — or skipped completely. With it, you receive:
- Faster bug detection during pull requests.
- Repeatable results across devices and environments.
- Certainty in each release, even on a tight schedule.
CI/CD helps locate problems before they get to a device.
Setting up GitHub Actions for Flutter testing
Set up automated testing on each commit or PR with a simple .github/workflows/test.yml:
name: Flutter Tests
on: [push, pull_request]
jobs:
test:
runs-on: ubuntu-latest
steps:
– uses: actions/checkout@v3
– uses: subosito/flutter-action@v2
with:
flutter-version: ‘3.16.0’
– run: flutter pub get
– run: flutter test –coverage
Tips:
- Divide tests into separate jobs (unit, widget, integration)
- Use –coverage to track progress
- Cache dependencies to make builds faster

Scaling with cloud-based testing platforms
For integration tests that require actual devices, move them to cloud testing services.
| Platform | Good for |
| Firebase Test Lab | Testing real Android devices at scale |
| BrowserStack | iOS & Android device coverage across OS versions |
| TestSigma | AI-assisted, codeless test creation and execution |
Local vs. Cloud — things to consider
| Local testing | Cloud testing |
| Quick and simple for fast checks | Can be scaled, real-world environments |
| Limited by local resources | May be more expensive, but reduces test errors |
What to do to test things
- Run unit/widget tests on each pull request.
- Schedule full integration suites at night or before release.
- Show test results in PRs with notes and logs.
- Keep an eye on unreliable tests and re-run only when needed.
Diagram of a sample CI/CD workflow

Some good ways to keep your Flutter tests reliable and easy to maintain
Short answer
Reliable Flutter tests reduce flakiness, prioritize impact-driven coverage, and speed up failure debugging with effective tools and CI feedback loops.As your Flutter app and its tests get bigger, keeping everything stable is really important. Here’s how to dodge flaky tests, increase coverage where it matters, and fix problems fast when they happen.
Keep tests reliable
Flaky tests are a pain. Here’s how to avoid them:
- Use pumpAndSettle() the right way. It waits for UI animations or async calls to finish
- Try not to use hardcoded timeouts (await tester.pump(Duration(seconds: 2))) unless you really have to
- Mock external services to keep things separate and reduce test dependencies
- Run tests on emulators and real devices, so you can catch issues early
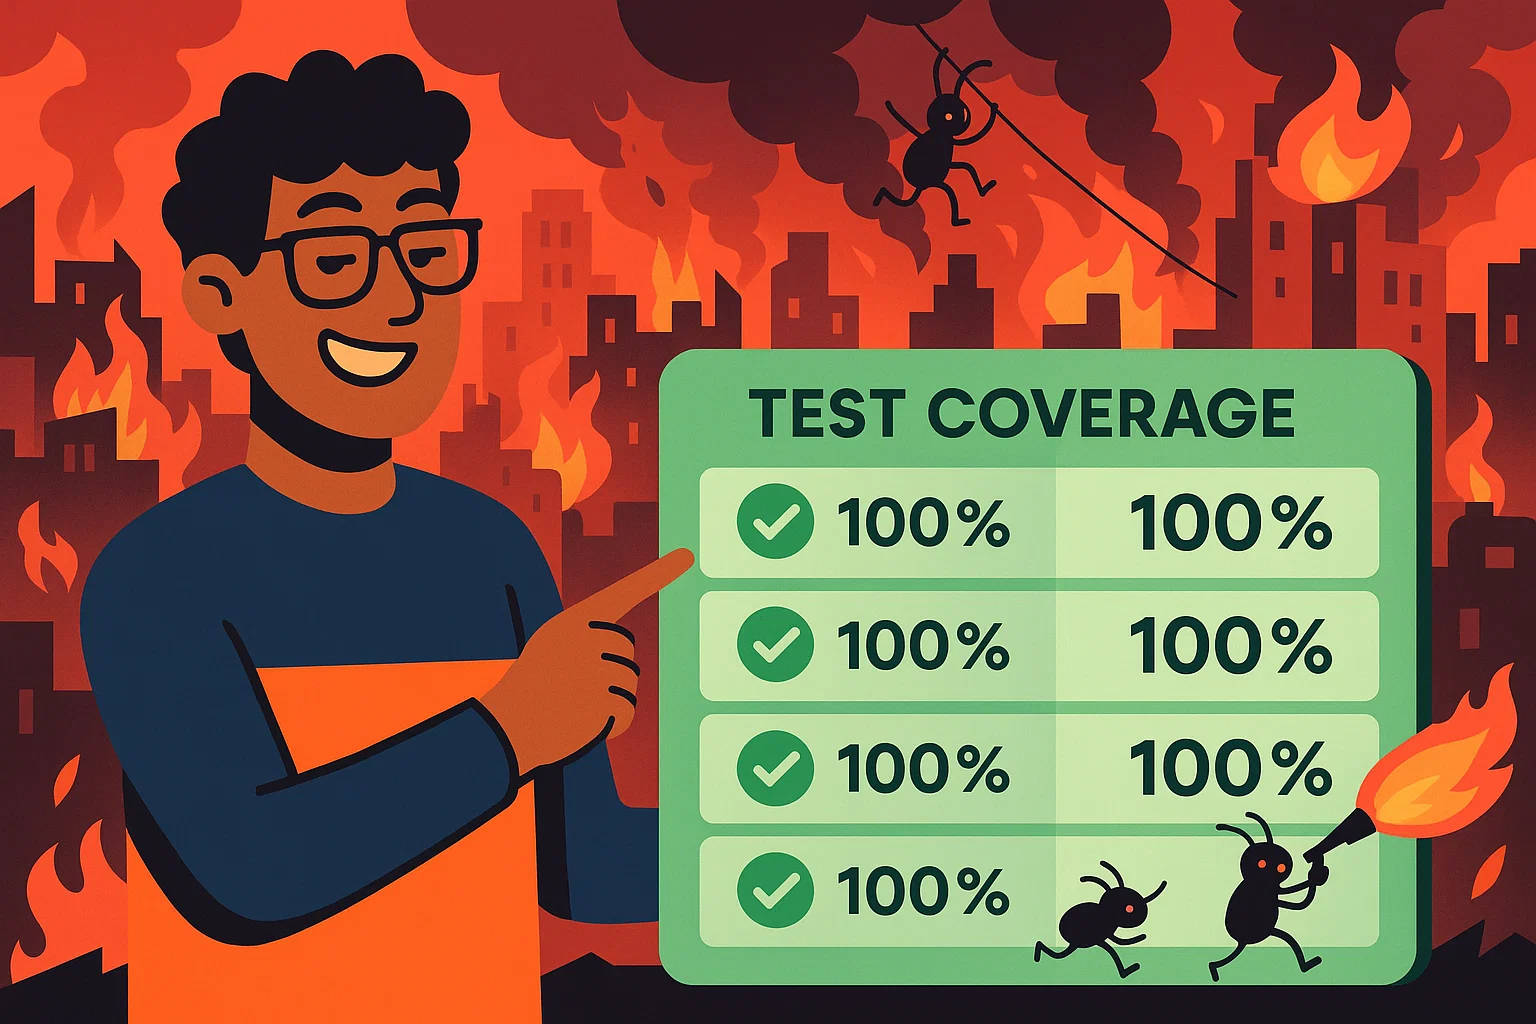
Set good test coverage goals
Code coverage is useful, but going for 100% isn’t always the best idea. Instead, pay attention to the tests that protect your users and your app.
- Run:
flutter test –coverage
- Use tools like lcov or IDE plugins to see where the gaps are.
- Focus on business logic, important UI elements, and features that often have issues.
Pro tip. Aim for high-impact coverage, not just high percentages.
Debugging and fixing test failures
When tests fail (and they will), fixing them quickly saves time and keeps you sane.
Here’s what to do:
- Add good error messages in your expect() statements.
- Use debugPrint() during tests to log context.
- Take screenshots of failed UI tests using integration_test.
- Save logs and test artifacts in your CI to work together easier.
Tools for fixing issues
- Flutter DevTools. Check widget trees and layouts.
- Firebase Crashlytics. Catch runtime issues during integration tests.
- CI logs. Look at the output from GitHub Actions, Bitrise, or your CI tool.
Flutter test automation: Real examples
Short answer
Real-world Flutter test automation improved bug detection, UI consistency, and user experience for teams in eCommerce and fintech.
Looking at how other teams handle Flutter test automation can help you avoid mistakes and make better choices. Here are two examples from different fields.
Case 1. Automating an online store checkout
Industry. eCommerce.
Problem. Changing parts of the user interface, like ad banners, discount buttons, and payment tools, caused errors during checkout, mostly after UI changes.
Fix:
- Used widget tests to check cart parts and discount rules.
- Added integration tests to copy the full checkout (from choosing a product to paying).
- Used mockito to imitate the payment system, so they didn’t need to rely on an outside service.
Results:
- Found more than 80% of errors before launch.
- Lowered support requests about checkout by 35%.
- The whole checkout test runs automatically before each launch.
Case 2. Keeping a finance app consistent
Industry. Fintech.
Problem. The iOS and Android versions had small UI differences (like font thickness and button placement) and worked differently when the network was slow.
Fix:
- Used golden tests to keep track of visual consistency down to the pixel.
- Ran tests at the same time using Firebase Test Lab and BrowserStack to check many devices.
- Made a fake network setup to act like a slow network.
Results:
- More tests covered the UI and network actions.
- UI errors in the live app dropped by 50%.
- Felt more sure about releases on both Android and iOS.
Flutter test automation in 2025 and beyond
Short answer
Flutter testing is evolving fast — with AI, codeless tools, and cross-platform needs reshaping how teams ensure quality across devices and platforms.Flutter’s expanding into web, desktop, and embedded systems, and testing has to keep up.
What’s changing
- AI-assisted tools like TestSigma or Autify auto-generate and maintain test scripts.
- Codeless platforms (Maestro, Testim) allow PMs and QA to build tests without touching code.
- Cross-platform parity is harder, but more essential — than ever.
What you should do next
- Evaluate your team’s readiness for low-code and AI-powered test tools.
- Document coverage needs for web and desktop apps now — not later.
- Start experimenting with golden tests for non-mobile platforms.
- Keep your stack flexible, so you can plug into different CI tools, platforms, or test runners as Flutter evolves.
The future of Flutter testing isn’t just faster, it’s smarter, broader, and more collaborative.
By Egor Kaleynik
IT-oriented marketer with B2B Content Marketing superpower. HackerNoon Contributor of the Year 2021 Winner – MARKETING. Generative AI enthusiast.
Featured in: Hackernoon.com, Customerthink.com, DZone.com, Medium.com/swlh
More info: https://muckrack.com/egor-kaleynik
Credibility Hub